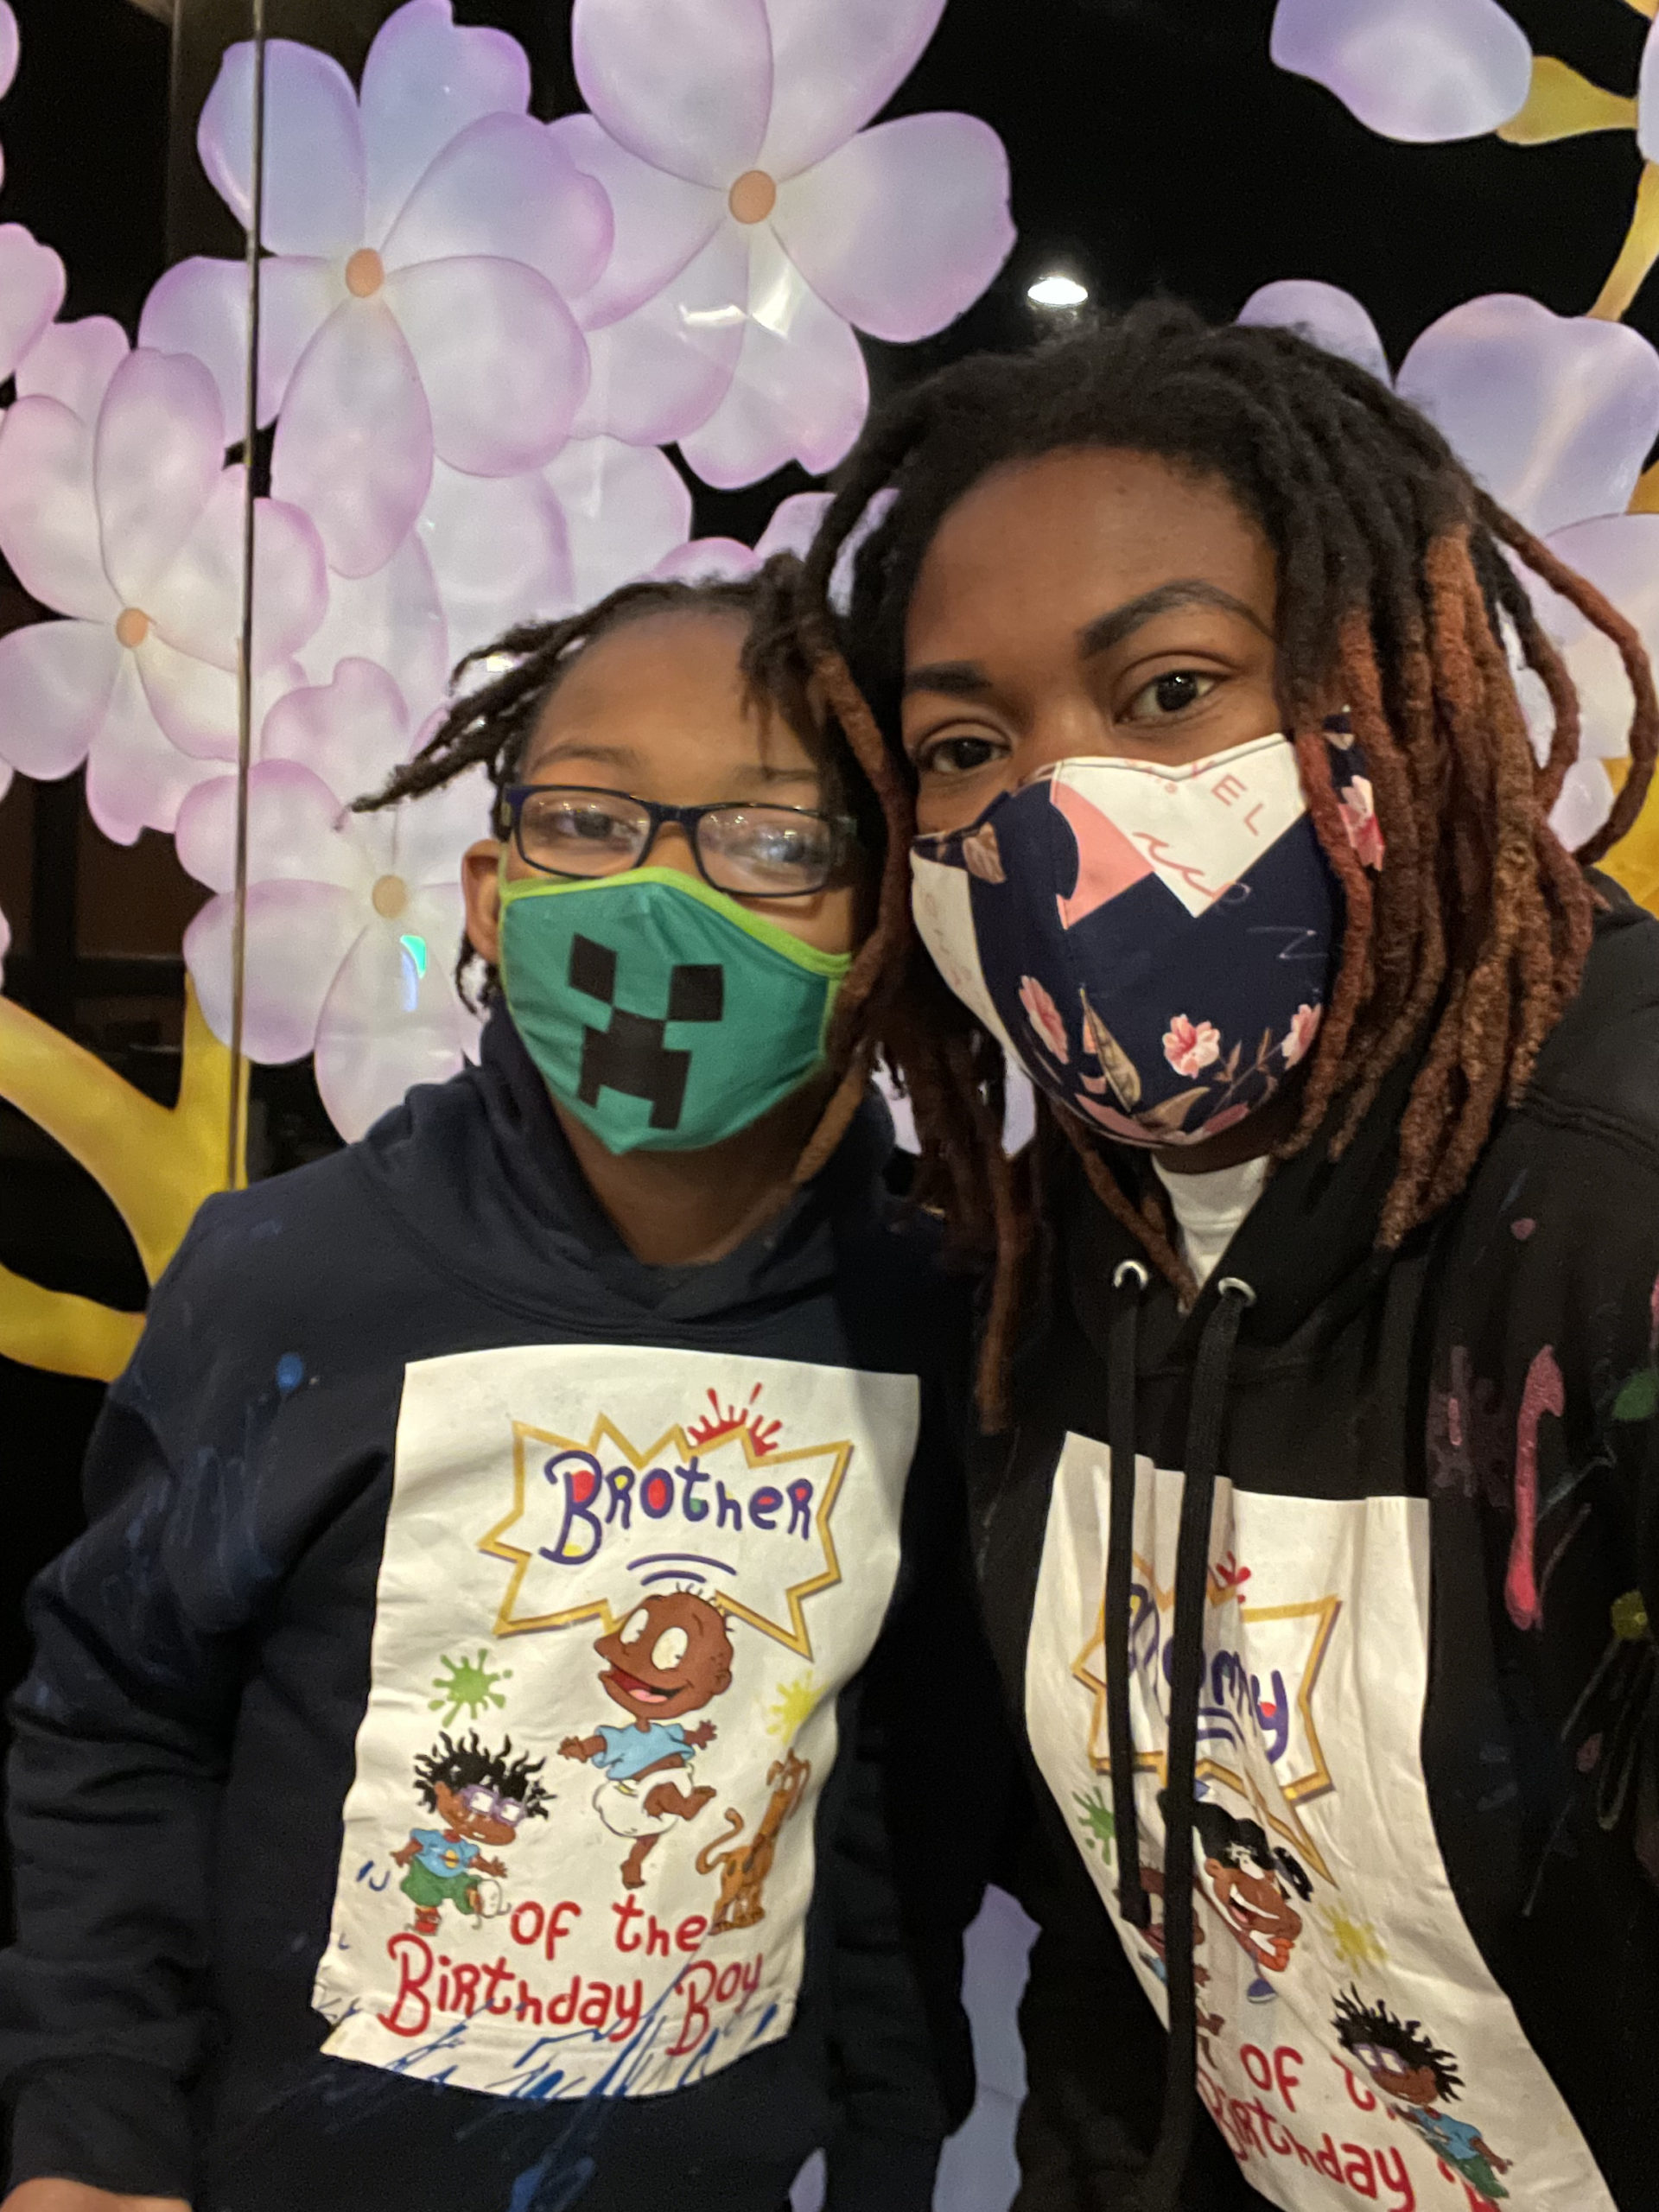
Let’s Make Some Rugrats Clothing!
.Welcome back to ATC blog! I hope everyone is in great spirits today. My goal is for you to leave here feeling a little bit better than you did when you arrived. I’m so glad you joined us today. Now let’s talk about mothers.
The world is literally filled with so many different types of moms. You have the low key moms, your everyday super relatable easy meal because its a school night moms , then there’s the over the top mothers that have to do the most. Especially when it comes to parties and events. I must admit I’m a little bit of them all. When its time to host, “I MUST DO THE MOST”! My son’s 1st birthday just passed so it gave me the opportunity to roll up my sleeves, pull out my glue gun and get creative.
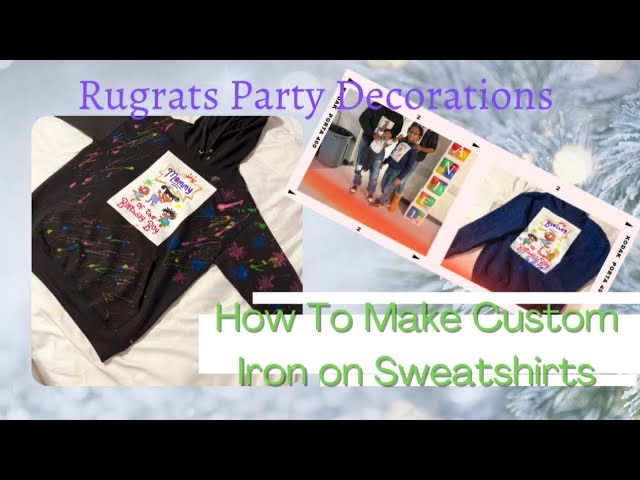
Part of that creativity included me making custom iron on sweatshirts for my boyfriend, our kids and myself. I learned a lot during the process so I figured I’d tell you all about it. I’ve included a link for the Youtube video for those that want more of a visual.
Supply List:
Sweatshirts, T-shirt, Onesie, Transfer Paper, Cricut mini press, acrylic paint, paint sponges, your shirt design in png format
Once you have your design, print it with an ink jet printer on transfer paper. Since our sweatshirts were black and navy blue, we used dark transfer paper. Be sure to check if you have dark or light transfer paper.
After I printed the design, I used my cricut mini press to make small circles in the sweatshirts where the design was gonna be placed. I did this to warm up the fabric before application. Once the sweatshirts were warm I placed the design in the middle of the shirt right over the pocket. Remember if you don’t cut off the excess white transfer paper from your design, it’ll all get adhered to the fabric. For our design, I used the whole sheet of transfer paper.
Place the parchment paper over the design and iron the entire design for about 3- 4 minutes. Let the parchment paper sit for 30 seconds before slowly peeling it away. Then I took some acrylic paint and freehand a random squiggily design on the chest and sleeves. I repeated these steps for all 3 sweatshirts and my son’s onesie. Remember to have fun and make the design your own. If you make a shirt or sweatshirt go ahead and tag me on instagram or email pictures to me. I’d love to see what ideas you come up with.
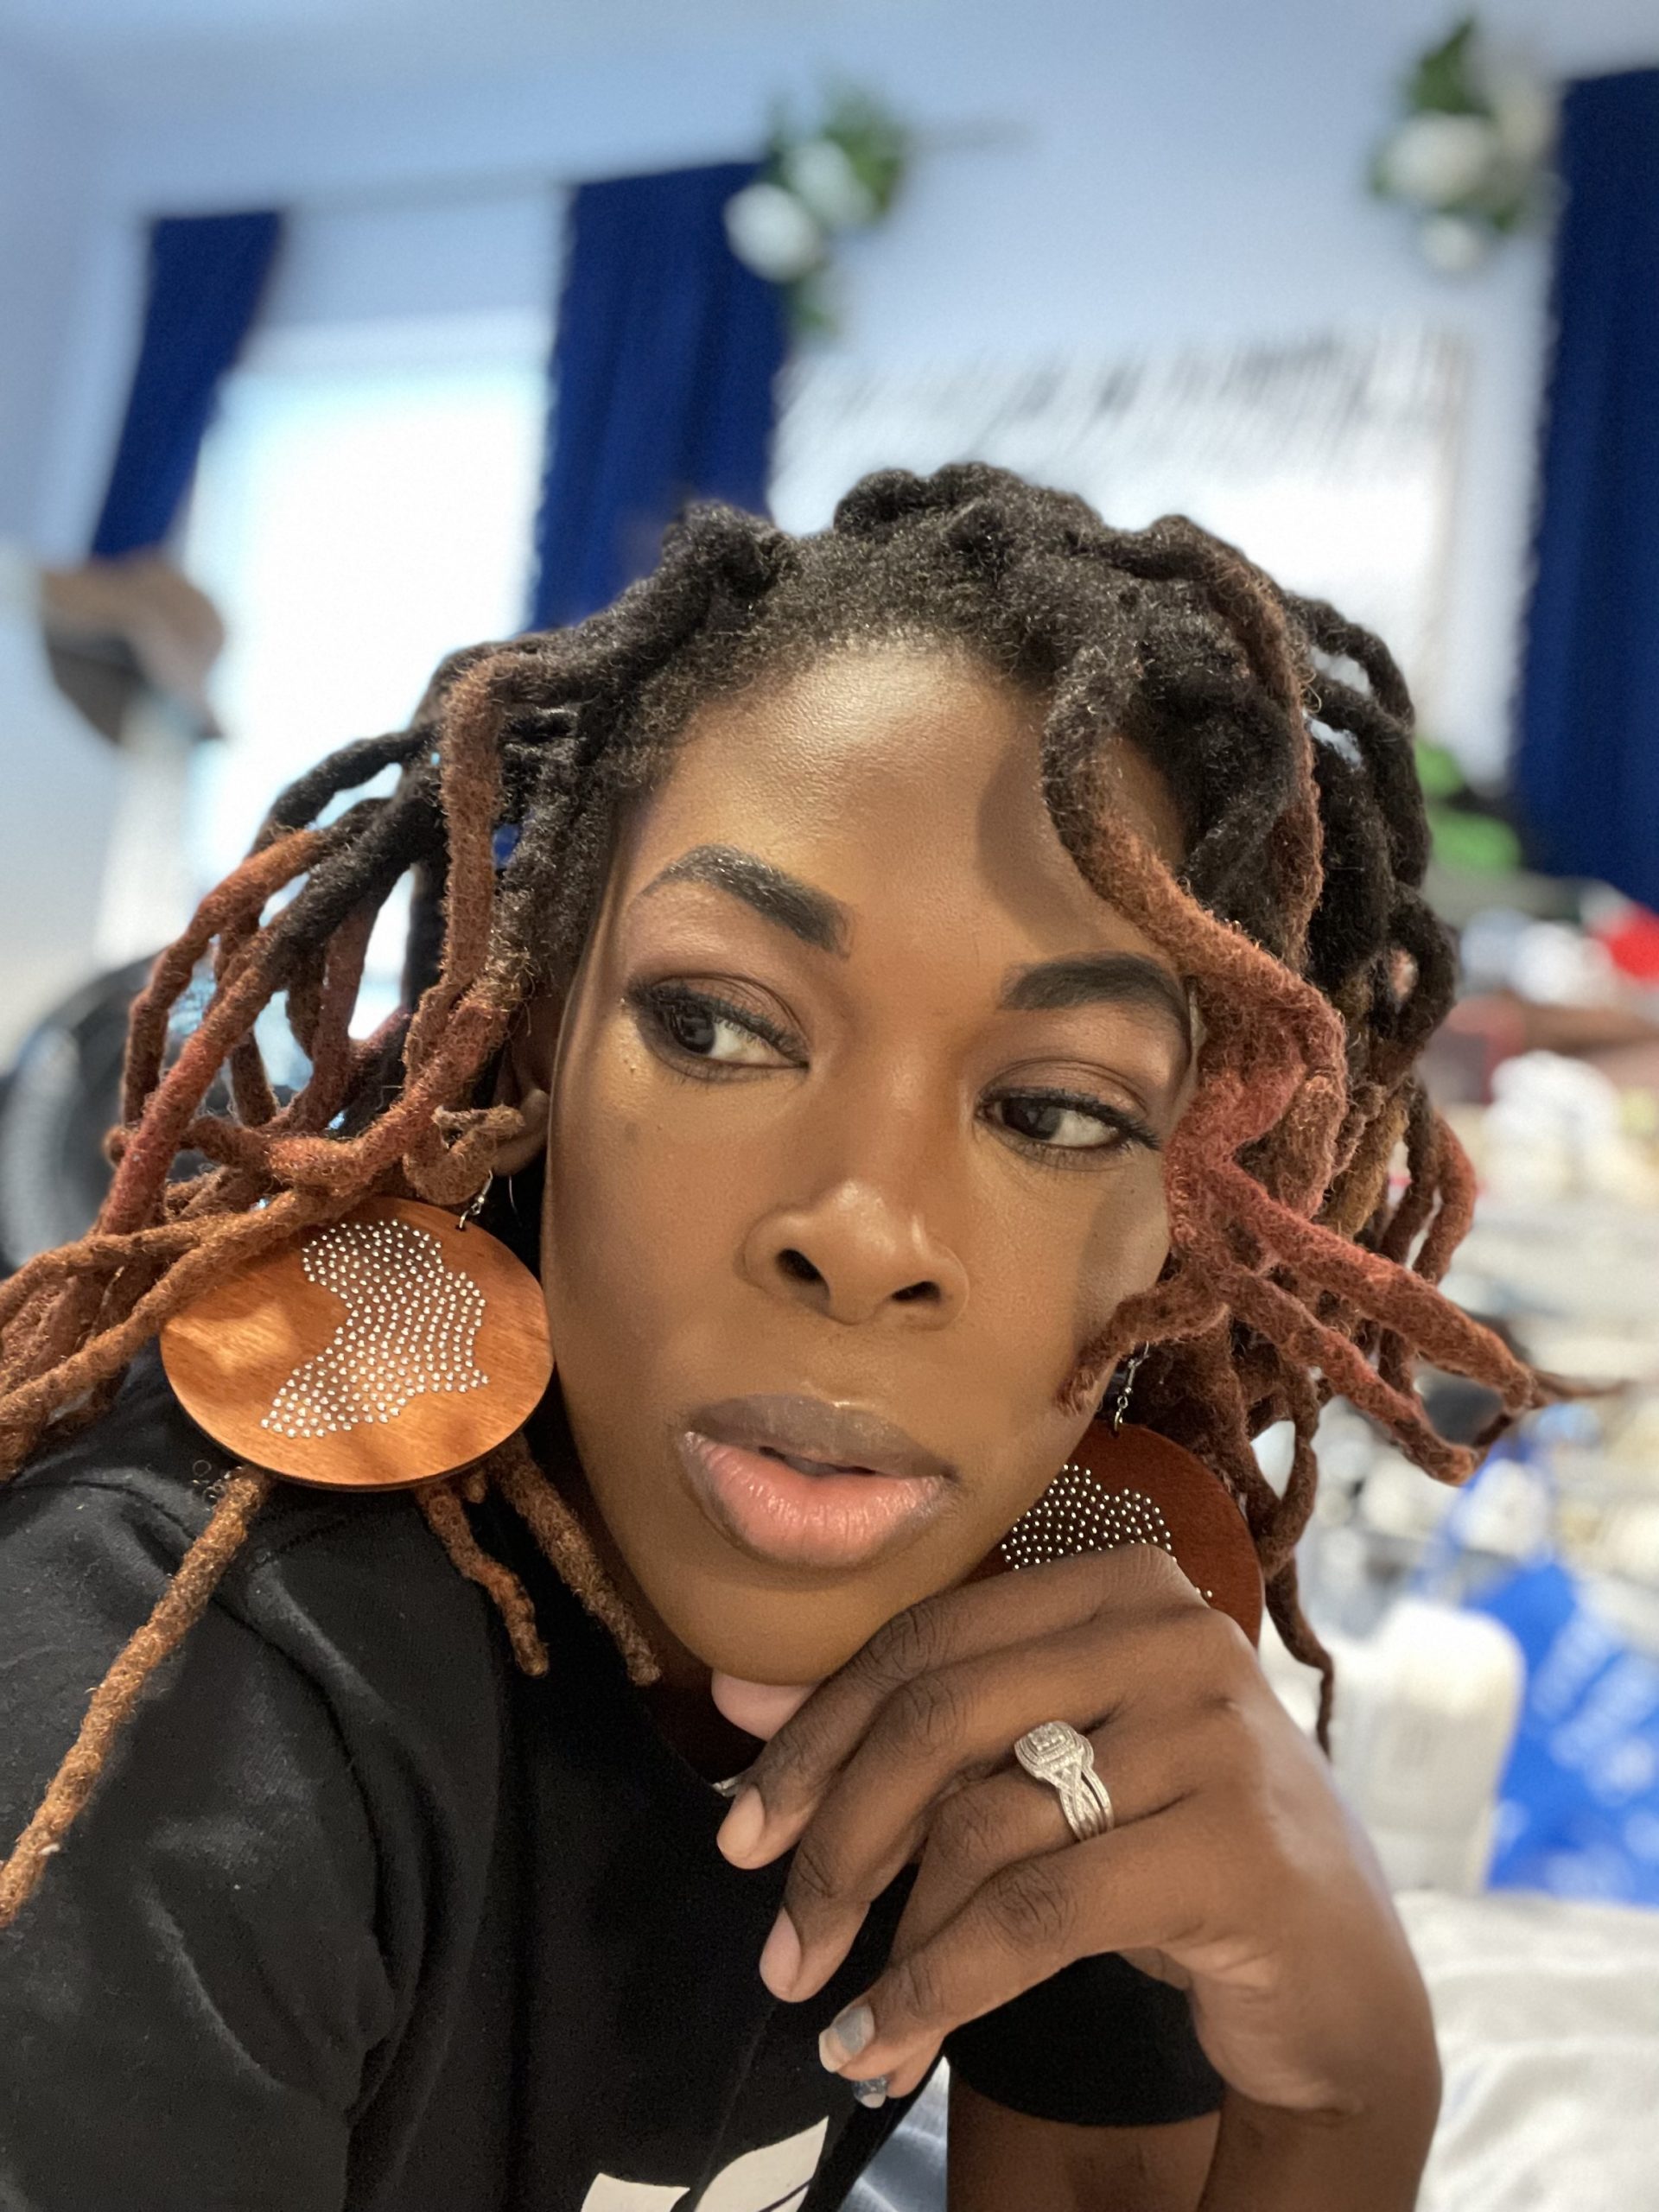
Written by accordingtocicely
More From This Category
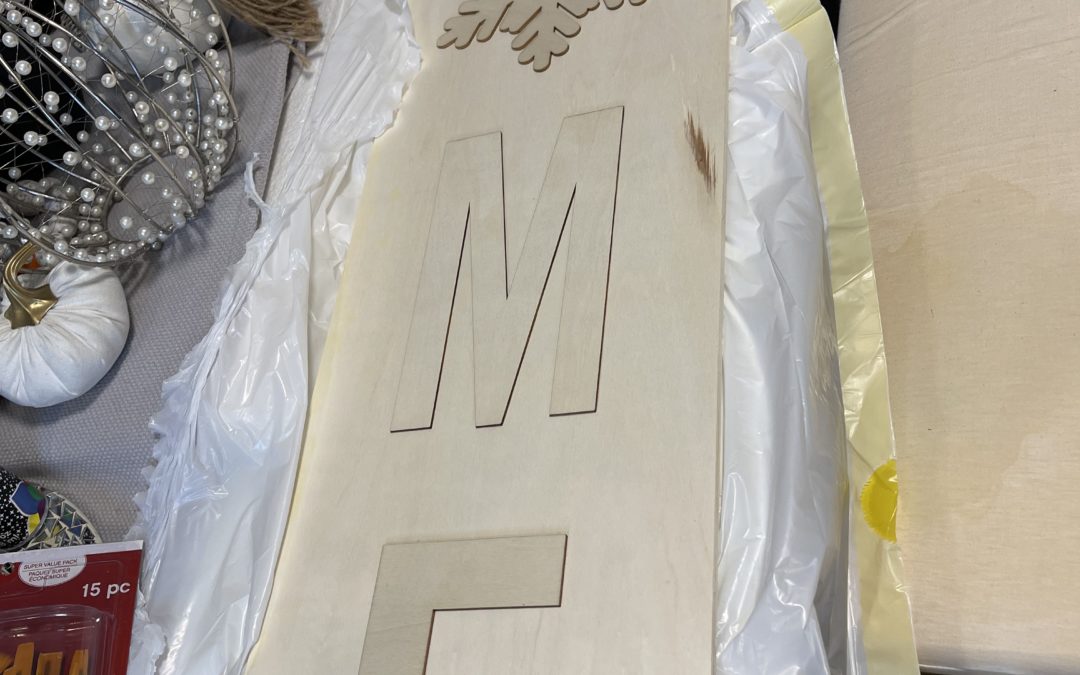
DIY Wooden Christmas Sign
Hobby Lobby DIY Wooden Home SignHave you ever just walked into Hobby lobby and inspiration struck you when you laid eyes on that one particular wall art? Depending on the season, the stores are flooded with large wooden signs meant to adorn your homes walls or look...

Kitchen Organization Must Haves
It’s a new year so I figured it was time to start organizing my most used spaces in my home. I started with my kitchen since it would give me instant gratification each time I cooked. Check out my must have list to get started on your kitchen organizational journey.
How Youtube Changed My Life!
How Youtube CHANGED My Life as a Disabled Content CreatorFrom the moment I hit record on my first YouTube video, I embarked on a journey that has transformed every aspect of my life. Today, I want to share with you the profound impact that becoming a YouTuber and...

Kitchen Organization Must Haves
It’s a new year so I figured it was time to start organizing my most used spaces in my home. I started with my kitchen since it would give me instant gratification each time I cooked. Check out my must have list to get started on your kitchen organizational journey.

How Youtube Changed My Life!
How Youtube CHANGED My Life as a Disabled Content CreatorFrom the moment I hit record on my first YouTube video, I embarked on a journey that has transformed every aspect of my life. Today, I want to share with you the profound impact that becoming a YouTuber and...
0 Comments